
Achieving a high-quality, durable interior paint finish isn’t just about the color you choose; it’s about technique. Professional painters follow a meticulous process that guarantees clean lines, smooth surfaces, and long-lasting results. Whether you’re tackling a weekend project or just want to understand the standards your hired crew should meet, these tips from Maple Crest Painting will teach you how to paint like an expert.
Prepping Is Everything
A professional knows that a beautiful finish is 90% preparation and 10% application. Skipping the prep phase is the single biggest cause of poor results in DIY projects.
Cleaning and Patching Walls Before Painting
Paint adheres best to a clean, dry, and structurally sound surface.
- Cleaning: Before any sanding or patching, wipe down the walls, especially in high-traffic areas or kitchens, to remove dust, grease, and grime. Use a mild solution of dish soap and water, or a specialized degreaser like TSP substitute. Ensure the walls are completely dry before proceeding.
- Patching: Inspect the walls for imperfections. Use spackle or lightweight joint compound to fill nail holes, small dents, and minor cracks. For larger holes, you may need mesh patch material. Once dry, sand the patched areas smooth and flush with the wall surface. Crucially, these repaired spots must be spot-primed to prevent the new paint from flashing (showing a dull or different sheen) over the compound.
Using Painter’s Tape for Clean Lines
Painter’s tape is essential for protecting trim, ceilings, and windows, but it must be applied correctly.
- Application: Apply the tape slowly, ensuring the entire edge that meets the surface is firmly pressed down. Professionals often use a putty knife or a 5-in-1 tool to “burnish” the tape edge, sealing it completely against the wall to prevent paint bleed.
- Removal: For the sharpest line, painter’s tape should be removed when the paint is dry to the touch but not fully cured. If you wait until the paint is fully hard, removing the tape risks chipping or tearing the edge of the new paint film.
Choosing the Right Tools
The right tools don’t just make the job easier; they fundamentally improve the quality of the finish.
Brushes vs. Rollers – When to Use Each
| Tool | Recommended Use | Pro Tip |
| Angled Brush (2-2.5 inch) | “Cutting in” (painting straight lines next to trim, ceilings, and corners). The angled tip provides control for a clean, straight edge without tape. | Choose a synthetic bristle (Nylon/Polyester) for all latex (water-based) paints for maximum resilience and smooth application. |
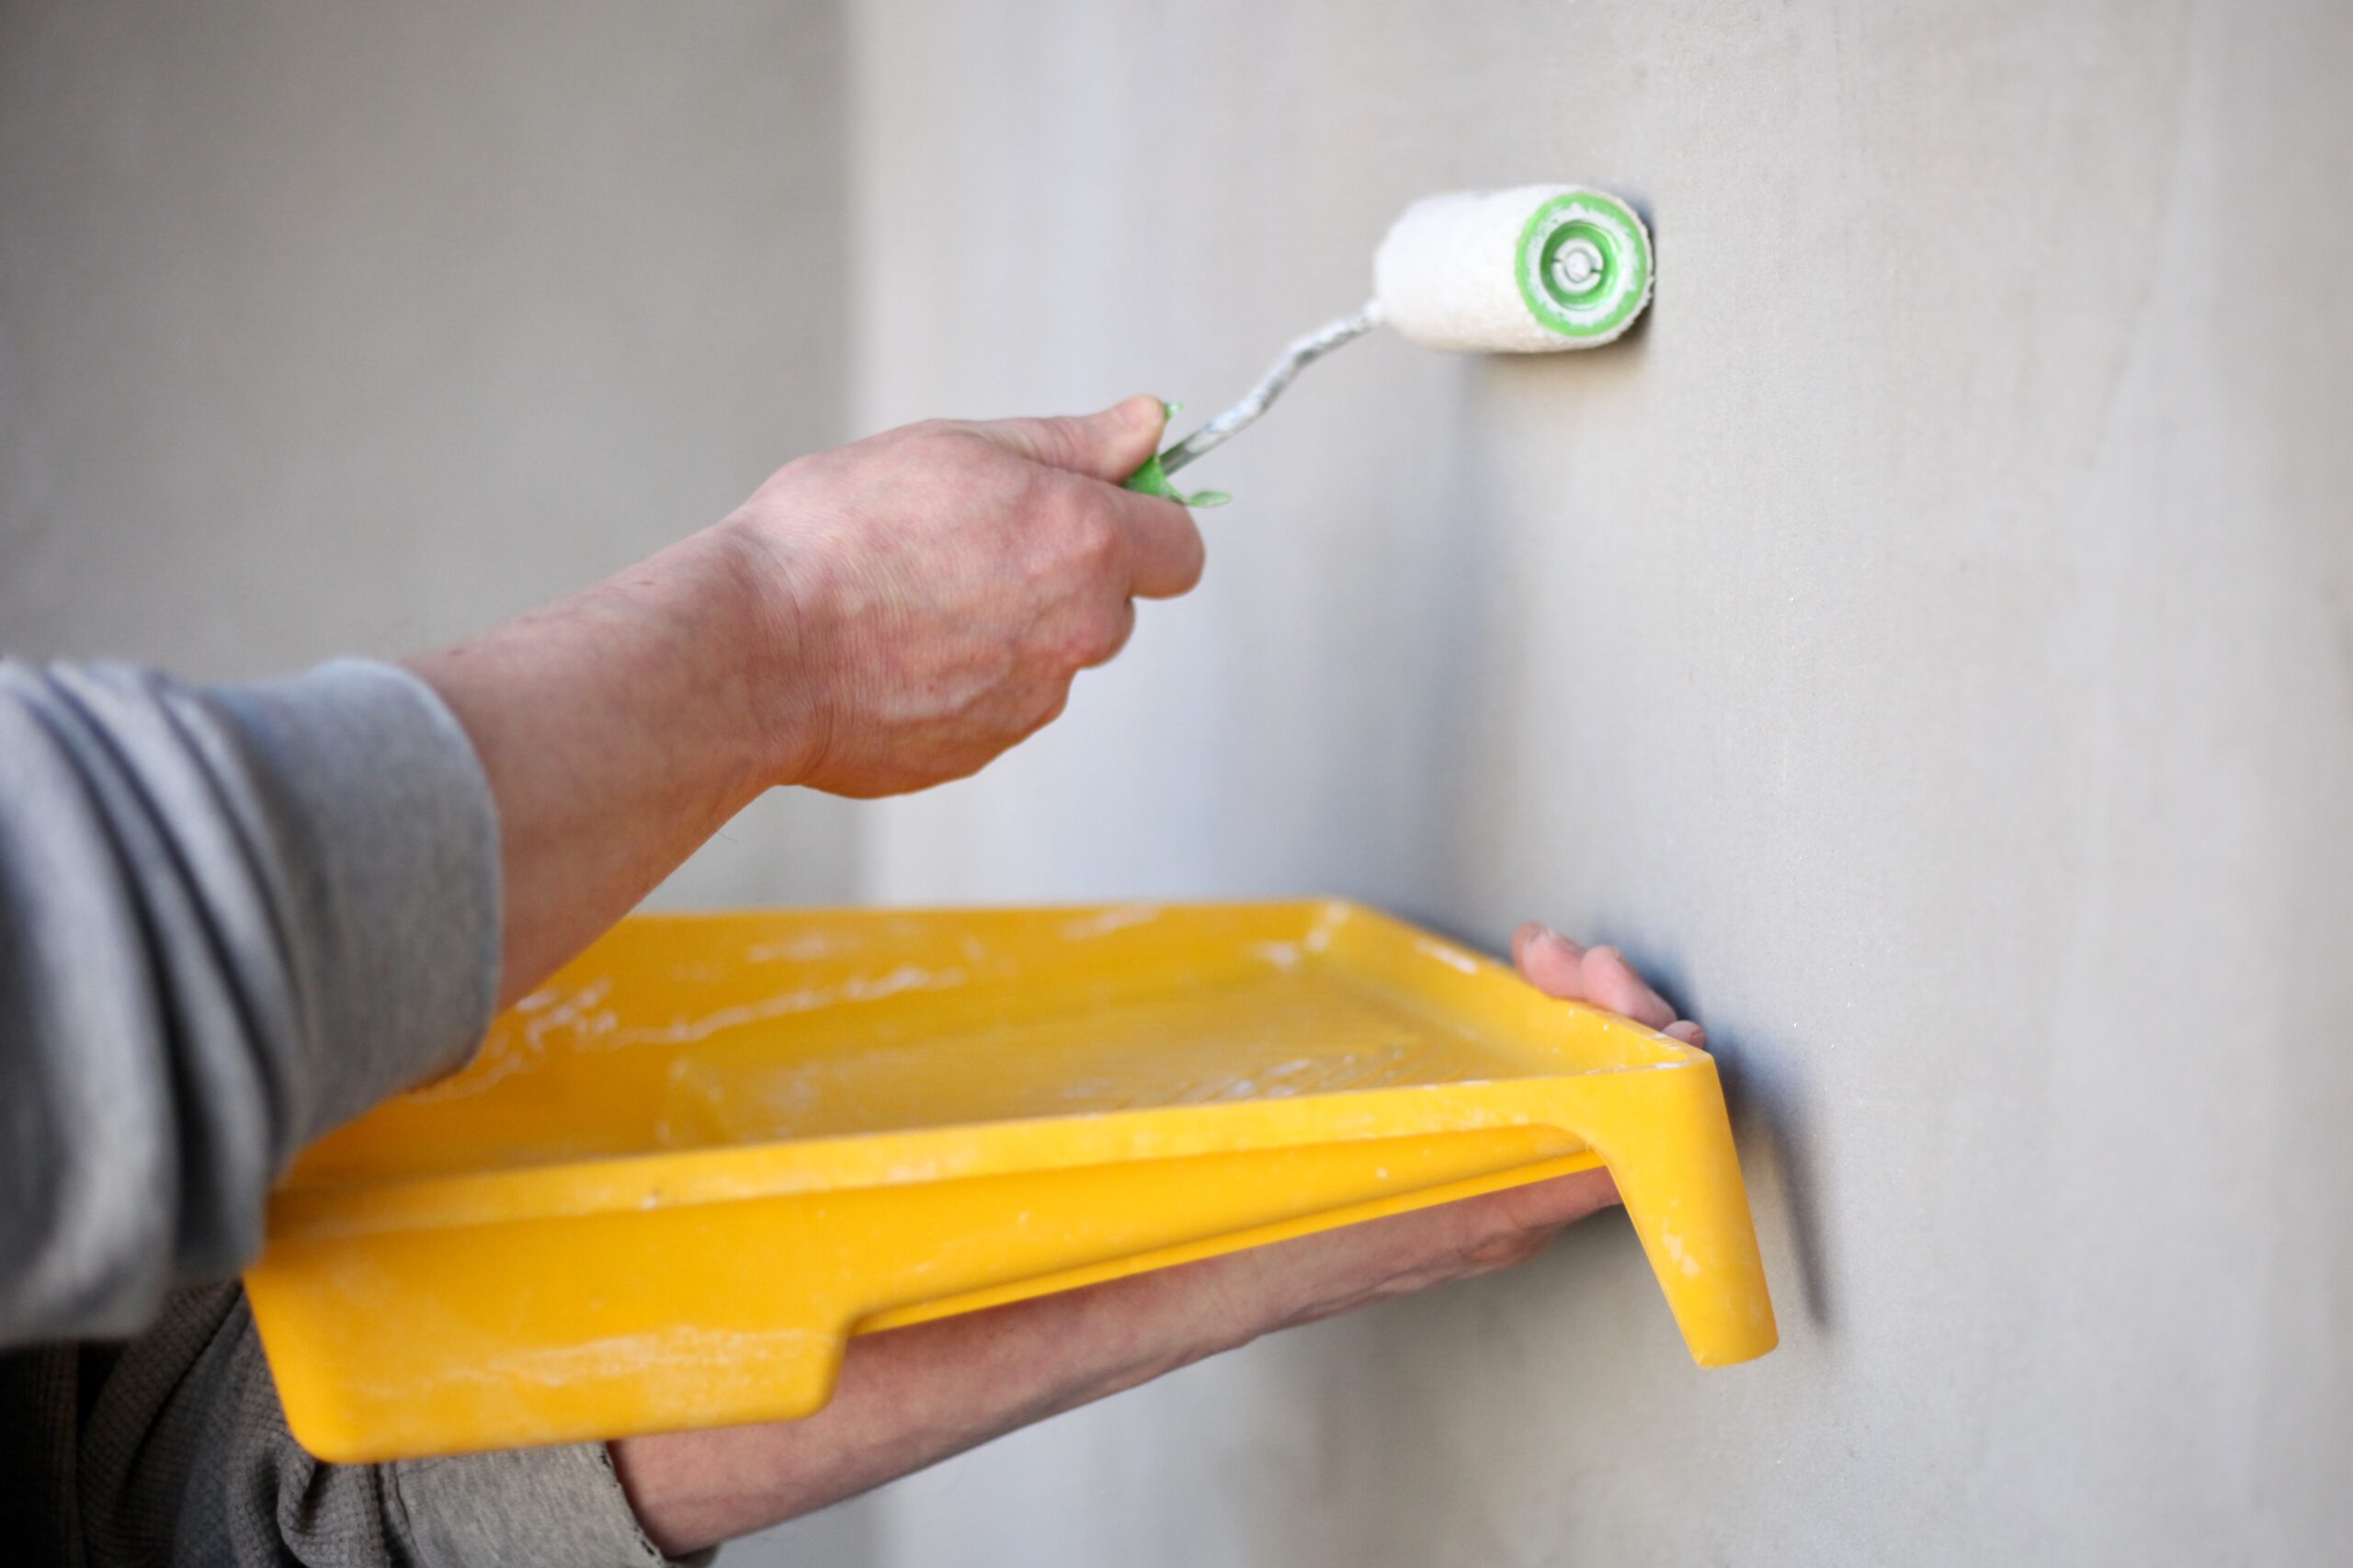
| Roller | Covering large, flat surfaces quickly and efficiently. | Nap Size Matters: Use a short nap (3/8 inch) for smooth walls and semi-gloss sheens, and a thicker nap (1/2 to 3/4 inch) for textured walls (like orange peel or knockdown) to push paint into the crevices. |
Paint Tray Liners and Extension Poles
- Paint Tray Liners: These are a must-have for efficiency and cleanup. They allow you to swap colors easily or save a batch of paint overnight without cleaning the entire tray. Time saved is money saved.
- Extension Poles: Using an adjustable extension pole is essential for rolling ceilings and high walls. It eliminates the need to constantly move a ladder, allows you to apply consistent pressure, and ensures a more uniform coat because you can use full, fluid strokes.
Painting Techniques That Make a Difference
These are the fundamental methods professionals use to achieve uniform color and flawless edges.
Cutting in Edges Before Rolling
Always complete your “cutting in” work first. This is the process of painting along the borders, corners, and trim with a brush.
- Cut a 2-3 inch band of paint around all edges and corners of the wall.
- Work on one wall at a time: cut the edges, then immediately roll the main surface before the cut-in paint starts to dry. This allows the roller to gently feather into the brushwork, eliminating visible brush marks and creating a seamless transition.
Applying Thin, Even Coats
The temptation is to load the roller with too much paint to finish faster, but this results in drips, runs, and an uneven texture (often called “orange peel” when the paint is too thick).
- Roll the paint onto the wall using a “W” or “M” pattern, starting in a dry area and sweeping into the freshly painted section.
- Once the area is covered, finish with light, straight, overlapping passes from the floor to the ceiling. This crucial step ensures the paint is evenly distributed and the stipple pattern is consistent across the entire wall.
Allowing Proper Drying Time Between Layers
The time specified on the paint can (e.g., “dry to the touch in 1 hour”) refers to the surface being non-sticky. The recoat time (e.g., “recoat after 4 hours”) is the time needed for enough moisture to evaporate so that a second coat can be applied without lifting or damaging the first. Always strictly adhere to the manufacturer’s recommended recoat time, or even double it in high-humidity conditions.
Common Painting Mistakes to Avoid
Even experienced DIYers fall victim to these common pitfalls.
Skipping Primer or Using Cheap Brushes
- Primer Is Your Foundation: Primer serves multiple functions: it seals porous surfaces (like spackle or bare drywall), blocks stains, and provides a uniform, non-absorbent base for the topcoat. Always prime bare patches, new drywall, or when making a drastic color change (especially going from dark to light).
- Invest in Quality: A cheap, poorly shaped brush will shed bristles, create messy edges, and make cutting in nearly impossible. A high-quality angled brush is your most valuable tool for clean lines; it’s an investment that pays for itself on the first room.
Painting in Poor Lighting Conditions
Professional painters prefer to use natural light whenever possible and supplement it with bright, directed work lamps. Poor lighting leads to two major problems:
- Missed Spots: You can easily miss areas that need coverage, especially along the baseboard or near the ceiling.
- Uneven Coverage: Shadows can make a thin coat look opaque, and you won’t realize you need another pass until the paint is dry and the light shifts. Always use multiple light sources to catch and correct imperfections while the paint is still wet.
FAQs
Should I paint ceilings or walls first?
Always paint the ceiling first, then the walls, and finally the trim and doors. This order ensures that any drips or splatter from the ceiling are simply covered by the subsequent wall and trim paint. Once the ceiling is finished, tape off the ceiling edge (or use a precise cut-in technique) before moving on to the walls.
How long should I wait before applying a second coat?
This depends entirely on the type and brand of paint, the room temperature, and the humidity. As a general rule, you should wait at least 2-4 hours between coats for most modern latex paints. Never rush this step. If the first coat isn’t cured enough, the wet roller can drag the paint off the wall on your second pass, ruining the finish and requiring extensive touch-ups.
Achieving truly professional results requires time, patience, and the right expertise. If you want a guaranteed, flawless finish without the headache of patching, priming, and clean-up, trust the experts who do this every day.
Contact Maple Crest Painting Today to Get a Free, Detailed Estimate for Your Next Interior Project!